
What is the BMP280?
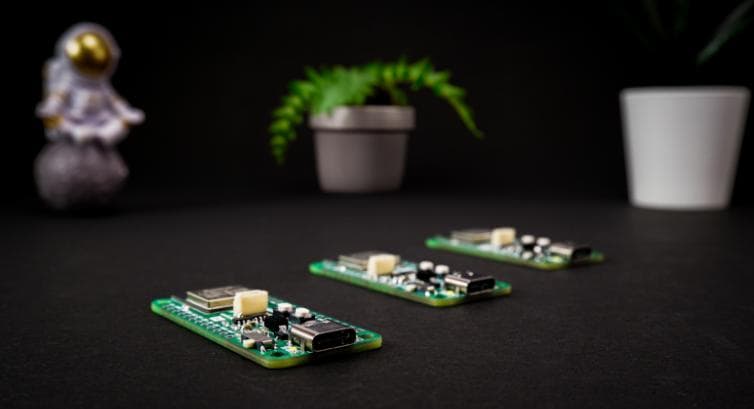
The BMP280 from Bosch measures air pressure and temperature, and because air pressure falls as you climb, it can also estimate altitude. It's sensitive enough to notice you lifting it from the floor to a table, and stable enough to show the slow pressure changes that come before a change in the weather. That makes it the standard part for weather stations, drone and rocket altimeters, and step or floor counters.
This page explains what the numbers mean, how pressure turns into altitude, which of the many BMP280 boards you have (they are not all wired the same), and the mistakes that trip beginners up. For working builds, follow the Arduino Uno guide, with a relative altimeter, or the ESP32 guide, with a weather page that shows the 3-hour pressure trend.
Specifications
- Measures
- Barometric pressure and temperature (no humidity)
- Pressure range
- 300–1100 hPa (about +9,000 m to −500 m)
- Relative accuracy
- ±0.12 hPa, about ±1 m of height (700–900 hPa, 25 °C)
- Absolute accuracy
- About ±1 hPa (950–1050 hPa, 0–40 °C)
- Pressure resolution
- 0.16 Pa (0.0016 hPa) at the highest oversampling
- Pressure noise
- 1.3 Pa RMS unfiltered; about 0.2 Pa with the IIR filter
- Temperature
- −40 to +85 °C range; ±1 °C accuracy (0–65 °C), 0.01 °C resolution
- Supply (chip)
- VDD 1.71–3.6 V, VDDIO 1.2–3.6 V. Not 5 V tolerant
- Current
- 2.7 µA at one reading per second; 0.1 µA asleep
- Interfaces
- I²C up to 3.4 MHz (address 0x76 or 0x77) and SPI up to 10 MHz
- Chip ID
- 0x58 (BME280 is 0x60)
- Package
- 8-pin LGA, 2.0 × 2.5 × 0.95 mm
From the Bosch BMP280 datasheet. Breakout boards add pull-up resistors and sometimes a regulator; check yours.
Pinout (6-pin board)
| Pin | Name | Connection for I²C |
|---|---|---|
| VCC | Power | 3.3 V (or 5 V only if the board has a regulator) |
| GND | Ground | Board ground |
| SCL | I²C clock (SPI: SCK) | Uno A5, ESP32 GPIO22 |
| SDA | I²C data (SPI: SDI) | Uno A4, ESP32 GPIO21 |
| CSB | Chip select | Leave as is: the board pulls it HIGH for I²C. Pulling it LOW at power-up switches to SPI |
| SDO | Address select (SPI: data out) | GND or open = 0x76 on most boards; to 3.3 V = 0x77 |
Swipe sideways to see every column →
Wiring & code
Setting up BMP280 with Arduino Uno
Library
Adafruit BMP280 Library by Adafruit
Library Manager: Adafruit BMP280 Library
In this guide you'll connect a BMP280 pressure sensor to an Arduino Uno and read temperature, pressure and altitude. You'll start with a scanner that finds the sensor's I²C address and tells you whether it's really a BMP280, then read the sensor, set it up for accurate altitude, and finish with a relative altimeter that shows how many centimetres you've lifted it.
Allow about 30 minutes. For how the sensor works and which board you have, see the BMP280 overview.
What you need
| Part | Qty | Notes |
|---|---|---|
| Arduino Uno R3 | 1 | Powered from USB |
| BMP280 module | 1 | Purple GY-BMP280 (3.3 V) or a 5 V-ready board |
| 4-channel I²C level shifter (BSS138) | 1 | Only for 3.3 V-only boards: see the wiring section |
| Breadboard and jumper wires | 1 + 4–8 |
Swipe sideways to see every column →
Wiring: check your board first
The BMP280 chip runs on 3.3 V and its pins are not 5 V tolerant. How you wire it to a 5 V Uno depends on the board:
- 5 V-ready board (has a small regulator and level-shift transistors, or an Adafruit board): connect VIN to 5V and SDA/SCL straight to A4/A5.
- Purple GY-BMP280-3.3 (no regulator): power it from the Uno's 3.3V pin, and put a level shifter in SDA and SCL.
Why bother with the shifter? Wire turns on the Uno's internal pull-ups to 5 V. Together with the board's own 10 kΩ pull-ups to 3.3 V, the data lines sit at about 3.7 V, a little above what the chip is rated for. Many people get away with it, but a level shifter costs very little and removes the risk.
Wiring: purple 3.3 V BMP280 to Arduino Uno
| From | To | Note |
|---|---|---|
| Uno 3.3V | BMP280 VCC and shifter LV | Low-voltage side |
| Uno 5V | Shifter HV | High-voltage side |
| Uno GND | BMP280 GND and shifter GND | Shared ground |
| Uno A4 (SDA) | Shifter HV1 → LV1 → BMP280 SDA | Data |
| Uno A5 (SCL) | Shifter HV2 → LV2 → BMP280 SCL | Clock |
| BMP280 SDO | Leave open (or GND) | 0x76; to 3.3 V for 0x77 |
| BMP280 CSB | Leave open | The board keeps it HIGH for I²C |
Swipe sideways to see every column →
With a 5 V-ready board, skip the shifter: VIN → 5V, SDA → A4, SCL → A5, GND → GND.
- 1Unplug the Uno.
- 2Identify your board: a regulator (small 3-pin part) means it's 5 V-ready; the plain purple board is 3.3 V only.
- 3For a 3.3 V-only board, place the level shifter: **LV to 3.3V**, **HV to 5V**, both **GND to GND**.
- 4Connect **BMP280 VCC to 3.3V** and **GND to GND**.
- 5Connect **A4 → HV1**, **LV1 → BMP280 SDA**, **A5 → HV2**, **LV2 → BMP280 SCL**.
- 6Leave CSB and SDO unconnected (address 0x76 on most purple boards). Plug in USB.
Install the library
In Arduino IDE 2, open the Library Manager, search for BMP280, and install Adafruit BMP280 Library. Accept the extra libraries it asks for (Adafruit Unified Sensor and BusIO). Select Tools → Board → Arduino Uno and your port.
Step 1: find the address and identify the chip
This sketch lists every I²C device and reads the chip-ID register of anything at 0x76 or 0x77. It catches the two most common problems before you write any real code: the wrong address, and a "BMP280" that's actually a BME280.
Reading Step 1
| Result | What to do |
|---|---|
| 0x76, chip ID 0x58 | A BMP280 at 0x76: the most common case. Use 0x76 in Step 2 |
| 0x77, chip ID 0x58 | A BMP280 at 0x77 (Adafruit, or SDO to 3.3 V). Use 0x77 |
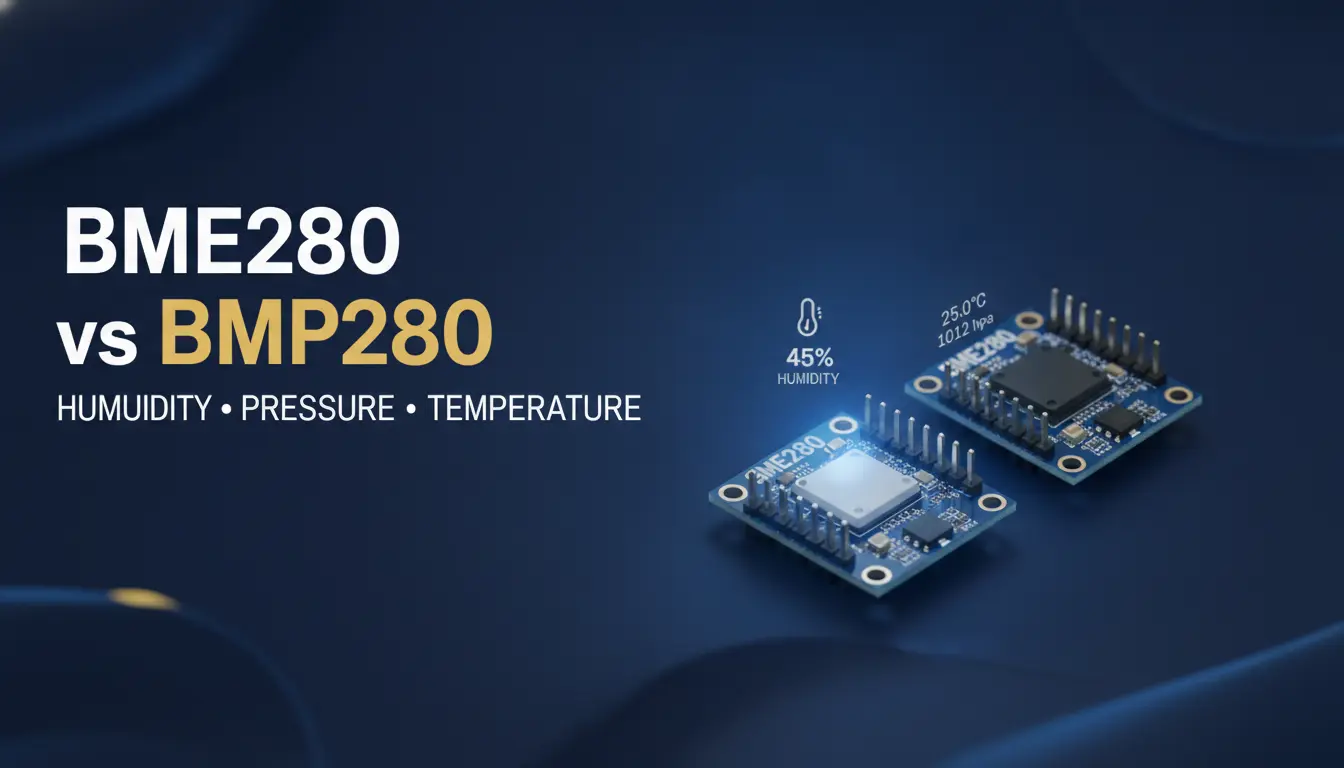
| Chip ID 0x60 | It's a BME280: it also measures humidity. Use the BME280 guide |
| No device found | Wiring: check power, ground, and that SDA and SCL aren't swapped |
Step 2: read temperature, pressure and altitude
Set BMP_ADDR to the address from Step 1 and upload. The sketch uses Bosch's low-noise settings: pressure oversampling ×16 and the IIR filter at ×16.
How Step 2 works
| Line | What it does |
|---|---|
bmp.begin(BMP_ADDR) | Starts the sensor at your address and loads its factory calibration |
setSampling(...) | Normal mode, temperature ×2, pressure ×16, IIR filter ×16, a new reading every 0.5 s |
readPressure() / 100.0 | The library returns pascals; 100 Pa = 1 hPa |
readAltitude(SEA_LEVEL_HPA) | Converts pressure to altitude using today's sea-level pressure |
That example was taken in Bengaluru, at about 920 m. Pressure near 908 hPa is normal there. Near the coast you'd see 1000–1020 hPa.
Make the altitude correct. Look up today's sea-level pressure (QNH) for your city: airport METAR reports and many weather sites give it. Put it in SEA_LEVEL_HPA. Or, if you know your exact elevation, work backwards: P0 = P / pow(1 - h / 44330.0, 5.255) gives the sea-level pressure that makes the sensor read your known height.
Project: a relative altimeter
Absolute altitude needs a weather reference, but height changes don't. This sketch averages the pressure for two seconds at start-up, then reports how far the sensor has moved up or down from there, in centimetres. Lift it from the floor to a table, or carry it up a flight of stairs, and watch.
What to expect. With the filter at ×16 the readout settles to within about ±20 cm at rest, and responds within a second or two. A flight of stairs (about 3 m) is obvious. Over hours, the weather drifts the zero by metres, so re-zero for each session.
Why it works. readAltitude(refHpa) normally takes sea-level pressure, but give it the pressure where you started and it returns the height above that point instead.
Ideas: a floor counter for a lift, a model rocket's peak-height logger, or a "how high did I jump" toy.
Troubleshooting
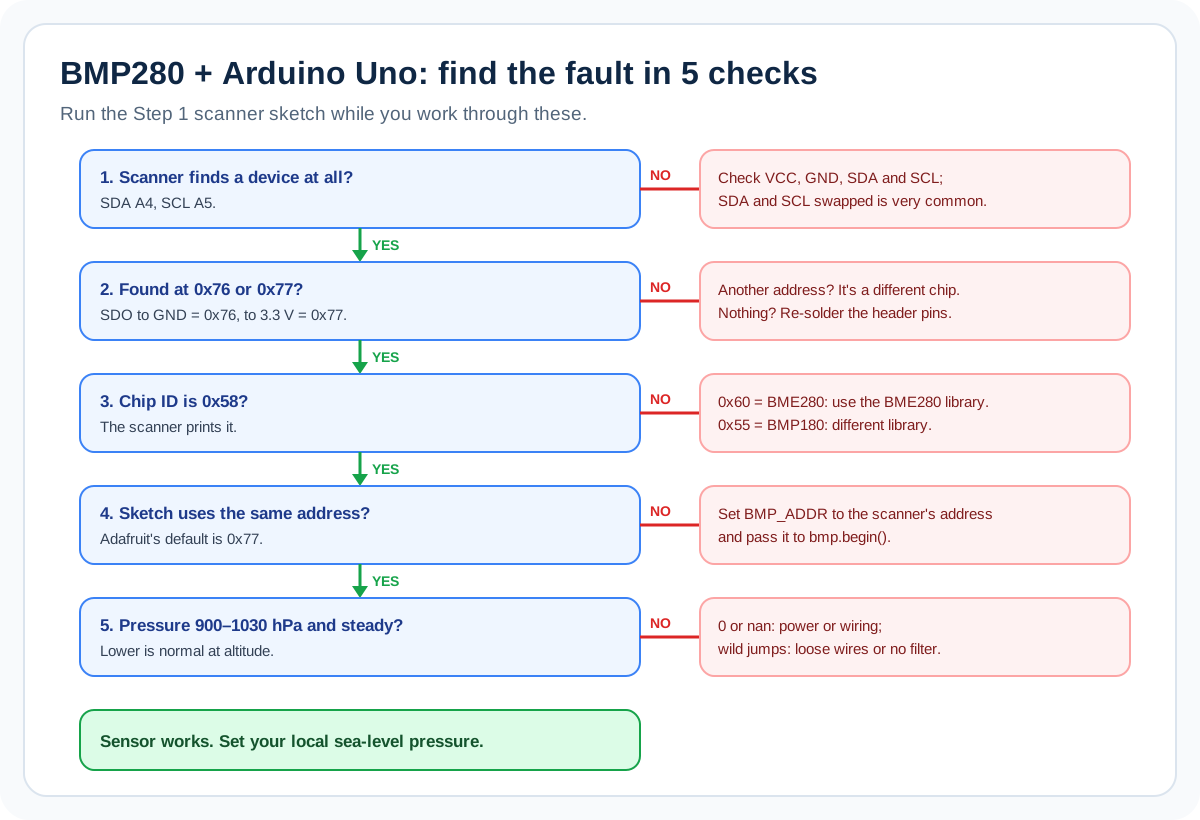
Common problems and fixes
| Symptom | Likely cause | Fix |
|---|---|---|
| "BMP280 not found" | Address mismatch (library default is 0x77) | Use the address from Step 1 in BMP_ADDR |
| Scanner finds nothing | SDA/SCL swapped, no power, bad solder joint | Check wiring; re-solder the header if needed |
| Chip ID 0x60 | It's a BME280 | Use the BME280 library and guide |
| Altitude far from your real height | Sea-level pressure not set | Enter today's QNH, or calculate P0 from a known height |
| Temperature reads several degrees high | Heat from the Arduino Uno or regulator | Move the sensor away on short wires |
| Values jump when people move nearby | Draughts | Shield the sensor; keep the IIR filter on |
| Works on the bench, stops later | Data lines over-voltage without a shifter | Add the level shifter, or use a 5 V-ready board |
Swipe sideways to see every column →
Frequently asked questions
Can I use other I²C pins? On an Uno, I²C is fixed to A4 and A5 (also brought out as SDA/SCL next to AREF).
Can I use two BMP280s?
Yes. Wire one board's SDO to 3.3 V to make it 0x77, and create two objects: bmp1.begin(0x76) and bmp2.begin(0x77).
Why is my pressure lower than the weather forecast? The forecast shows pressure corrected to sea level. The sensor shows the real pressure where it is, which is lower the higher you live.
Do I need to calibrate the BMP280? Not for pressure: each chip carries its own factory calibration. You only set the sea-level reference for altitude.
What to build next
- Weather station: add humidity with a BME280 or a DHT22.
- Display it: show readings on an LCD1602 I²C sharing the same two I²C pins.
- Wi-Fi version: the ESP32 guide builds a phone weather page with a 3-hour trend.