

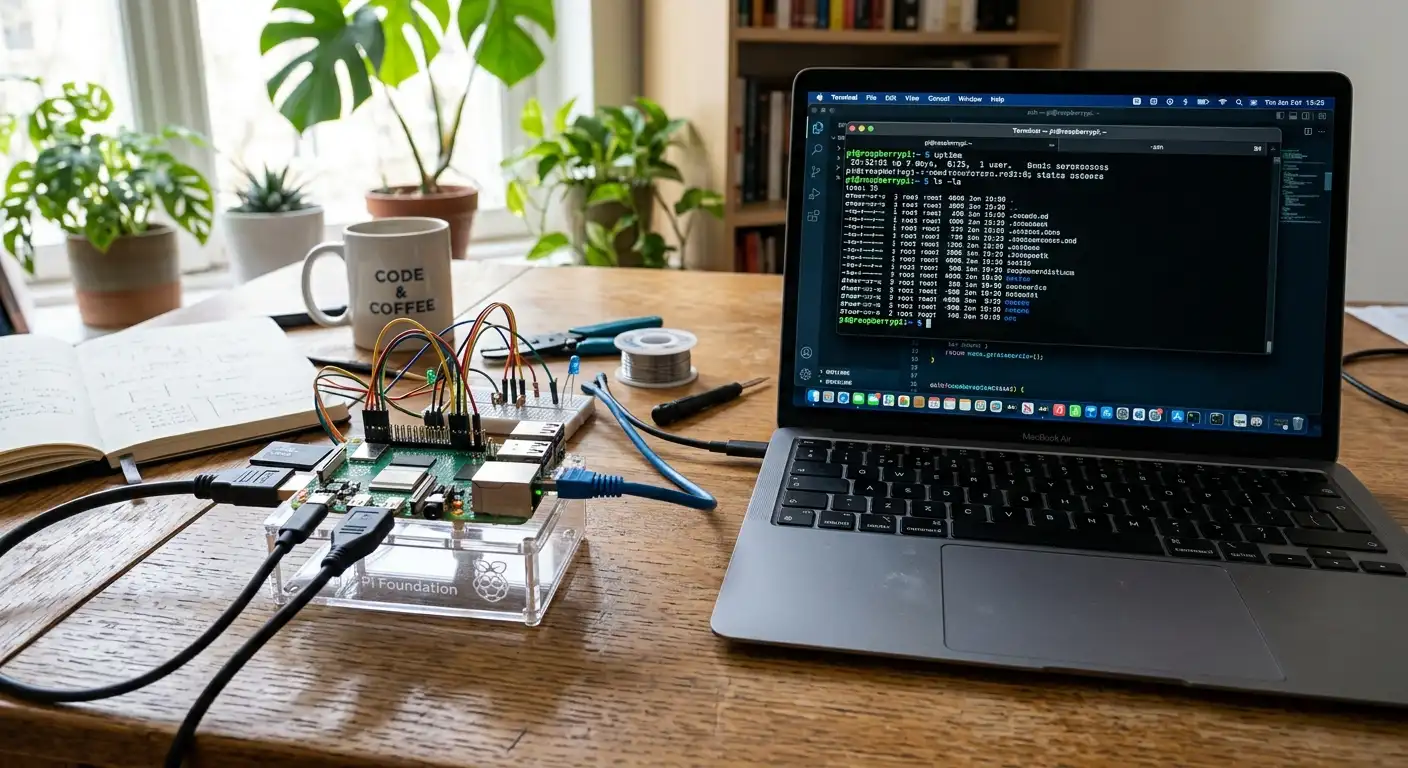
I still remember the first time I got a web page to load from my own Raspberry Pi. It was a tiny "Hello World" page, nothing fancy, sitting on a cheap Pi 3 I'd bought for a home automation experiment. But seeing that page load in my browser, knowing it was coming from a board smaller than a deck of cards sitting right next to my router, felt like a small kind of magic. If you're tinkering with a Pi right now and wondering whether it can handle real web hosting duties, the short answer is yes — and Flask is the easiest doorway in.
This guide walks through everything from a blank SD card to a working, network-accessible Flask server, plus a few things I learned the hard way so you don't have to.
Why Flask, and Why Raspberry Pi?
There are bigger frameworks out there — Django being the obvious one — but Flask earns its place on a Raspberry Pi specifically because of how little it asks for. No forced folder structure, no admin panel you don't need, no ORM you have to configure before you've even written a route. You write a few lines of Python, and you're serving a page.
Pair that minimal footprint with a Raspberry Pi, and the combination makes sense for a particular kind of project: things that need to run quietly, sip very little power, and stay on 24/7 without anyone thinking about them. A home automation dashboard. A sensor readout page you check from your phone. A small API that talks to other devices on your network. None of these need a beefy server — they need something small, reliable, and always there.
You also don't need the latest Pi model. A Pi 3, a Pi 4, or even a Pi Zero 2 W will run Flask comfortably for small to medium projects. I've run dashboard projects on a Zero 2 W without a single hiccup.
What You'll Need Before Starting
- A Raspberry Pi (any model with network access — Wi-Fi or Ethernet)
- A microSD card with Raspberry Pi OS installed and booted
- Access to the Pi via terminal — either directly with a monitor/keyboard, or remotely via SSH
- Python 3, which comes pre-installed on current Raspberry Pi OS builds
- About thirty minutes and a bit of patience for your first install
If you haven't set up SSH yet, it's worth doing — controlling your Pi headlessly from your main computer makes this whole process far less fiddly.
Step 1: Updating the System
Open a terminal on your Pi, either directly or over SSH, and start with the basics:
sudo apt update && sudo apt upgrade -y
This pulls the latest package lists and updates anything outdated. It's tempting to skip this step when you're impatient to get coding, but skipping it is exactly how people end up with mysterious version conflicts an hour later.
Step 2: Installing Python and pip
Most current Raspberry Pi OS images ship with Python 3 already installed. You can confirm with:
python3 --version
If pip isn't installed yet, grab it:
sudo apt install python3-pip -y
pip is what lets you install Flask and any other Python packages your project needs, so this is a non-negotiable step.
Step 3: Setting Up a Virtual Environment (Don't Skip This)
This is the part a lot of quick tutorials skip, and it's the part that saves you headaches later. A virtual environment keeps your project's Python packages separate from the system-wide Python installation. Without it, you risk version conflicts between different projects, or breaking system tools that rely on specific package versions.
sudo apt install python3-venv -y
mkdir ~/flask-project
cd ~/flask-project
python3 -m venv venv
source venv/bin/activate
Once activated, you'll see (venv) appear at the start of your terminal prompt. That's your sign everything you install next stays contained to this project.
Step 4: Installing Flask
With your virtual environment active, install Flask:
pip install flask
That's the entire installation process. No complicated dependency tree, no build errors to chase down. This simplicity is a big part of why Flask is such a good fit for a Pi.
Step 5: Writing Your First Flask App
Create a new file called app.py inside your project folder:
from flask import Flask

app = Flask(__name__)

@app.route('/')
def home():
    return "Hello from your Raspberry Pi!"

if __name__ == '__main__':
    app.run(host='0.0.0.0', port=5000)
Let's actually unpack what's happening here, because understanding it matters more than copying it.
Flask(__name__)creates your application instance.@app.route('/')is a decorator that tells Flask "when someone visits this URL path, run the function underneath it."- The function returns whatever you want shown in the browser — in this case, plain text, but it could just as easily be HTML, JSON, or a rendered template.
app.run(host='0.0.0.0', port=5000)starts the server. Thehost='0.0.0.0'part is easy to overlook but genuinely important — it tells Flask to accept connections from any device on your network, not just from the Pi itself. Without it, you'd only be able to load the page locally on the Pi, which defeats the purpose.
Run it with:
python3 app.py
You should see output confirming the server is running, along with the address it's listening on.
Step 6: Finding Your Pi's IP Address
To reach the server from another device, you need your Pi's local IP address. Run:
hostname -I
This gives you something like 192.168.1.45. From any other device on the same Wi-Fi network — your laptop, your phone — open a browser and go to:
http://192.168.1.45:5000
You should see your "Hello from your Raspberry Pi!" message right there on your screen.
That moment — loading a page on your phone that's actually coming from a tiny board on your desk — is the one that makes this whole thing click for most people.
Step 7: Adding More Routes
A single route is fun for five minutes. Real projects need structure. Here's an expanded version of app.py with multiple routes:
from flask import Flask, jsonify
from datetime import datetime

app = Flask(__name__)

@app.route('/')
def home():
    return "Welcome to my Raspberry Pi server."

@app.route('/status')
def status():
    return jsonify({
        "status": "online",
        "time": datetime.now().strftime("%Y-%m-%d %H:%M:%S")
    })

@app.route('/about')
def about():
    return "This server is running on a Raspberry Pi using Flask."

if __name__ == '__main__':
    app.run(host='0.0.0.0', port=5000)
Visiting /status now returns JSON data instead of plain text — useful if you're planning to connect this server to another app, a script, or a dashboard later on.
Step 8: Connecting Flask to Real Hardware
This is where a Raspberry Pi project genuinely separates itself from a normal web server. Because the Pi has GPIO pins, Flask can act as a bridge between a web page and physical hardware — lights, sensors, relays, motors.
Here's a simple example using RPi.GPIO to control an LED through a web button:
Wire an LED to GPIO pin 18 with a resistor, run the server, and visit /led/on and /led/off from your browser. You're now controlling physical hardware over the web — the foundation for things like remote-controlled lights, sensor dashboards, or full home automation panels.
Step 9: Keeping the Server Running After You Close the Terminal
Here's something that trips up almost everyone the first time: close the terminal or SSH session, and the Flask server dies with it. Fine for testing, useless for a project you want running permanently.
A quick fix for casual use is nohup:
nohup python3 app.py &
This detaches the process from the terminal session, so closing your SSH connection won't kill it.
For anything you want running reliably — especially something that should survive a reboot — a systemd service is the proper long-term solution. Create a file at /etc/systemd/system/flaskapp.service:
[Unit]
Description=Flask Web Server
After=network.target

[Service]
User=pi
WorkingDirectory=/home/pi/flask-project
ExecStart=/home/pi/flask-project/venv/bin/python3 app.py
Restart=always

[Install]
WantedBy=multi-user.target
Then enable and start it:
sudo systemctl enable flaskapp.service
sudo systemctl start flaskapp.service
Now your Flask app starts automatically every time the Pi boots, and restarts itself if it ever crashes. This is the setup I'd recommend for literally any project you're not just testing.
A Few Things I Learned the Hard Way
A handful of small mistakes cost me time when I started, so here's the shortcut version:
Port conflicts. If you get an "Address already in use" error, something else — often a previous Flask process that didn't shut down cleanly — is sitting on port 5000. Find and kill it with sudo lsof -i :5000 followed by kill <PID>.
Forgetting host='0.0.0.0'. This is the single most common reason people think their server "isn't working" when really it's just only listening locally on the Pi.
Running Flask's built-in server in true production. Flask's default server is fine for development and small personal projects, but if you're exposing something to the wider internet rather than just your home network, look into pairing it with something like Gunicorn and Nginx down the line. For a home dashboard or local project, the built-in server is genuinely fine.
Firewall blocking the port. If you've enabled ufw or another firewall, make sure port 5000 (or whichever port you're using) is allowed through.
Where This Can Go From Here
Once the basics are working, the project ideas open up fast:
- A live dashboard pulling temperature and humidity readings from a DHT22 sensor
- A simple home automation control panel for lights and relays
- A small personal API that other devices on your network can query
- A camera feed page using the Pi Camera Module
- A self-hosted to-do list or notes app for your home network
Flask's simplicity means you can start with something tiny and keep layering features on without ever needing to rip out and rebuild the foundation.
Final Thoughts
There's something genuinely satisfying about hosting your own server on a device that fits in your palm. This isn't about building the next big web app — it's about understanding how the pieces fit together, one small project at a time. Start with that "Hello World" page, get comfortable with routes, then start connecting it to actual hardware. You'll be surprised how quickly a five-line script turns into a project you actually rely on every day.
Happy soldering, and happy coding.