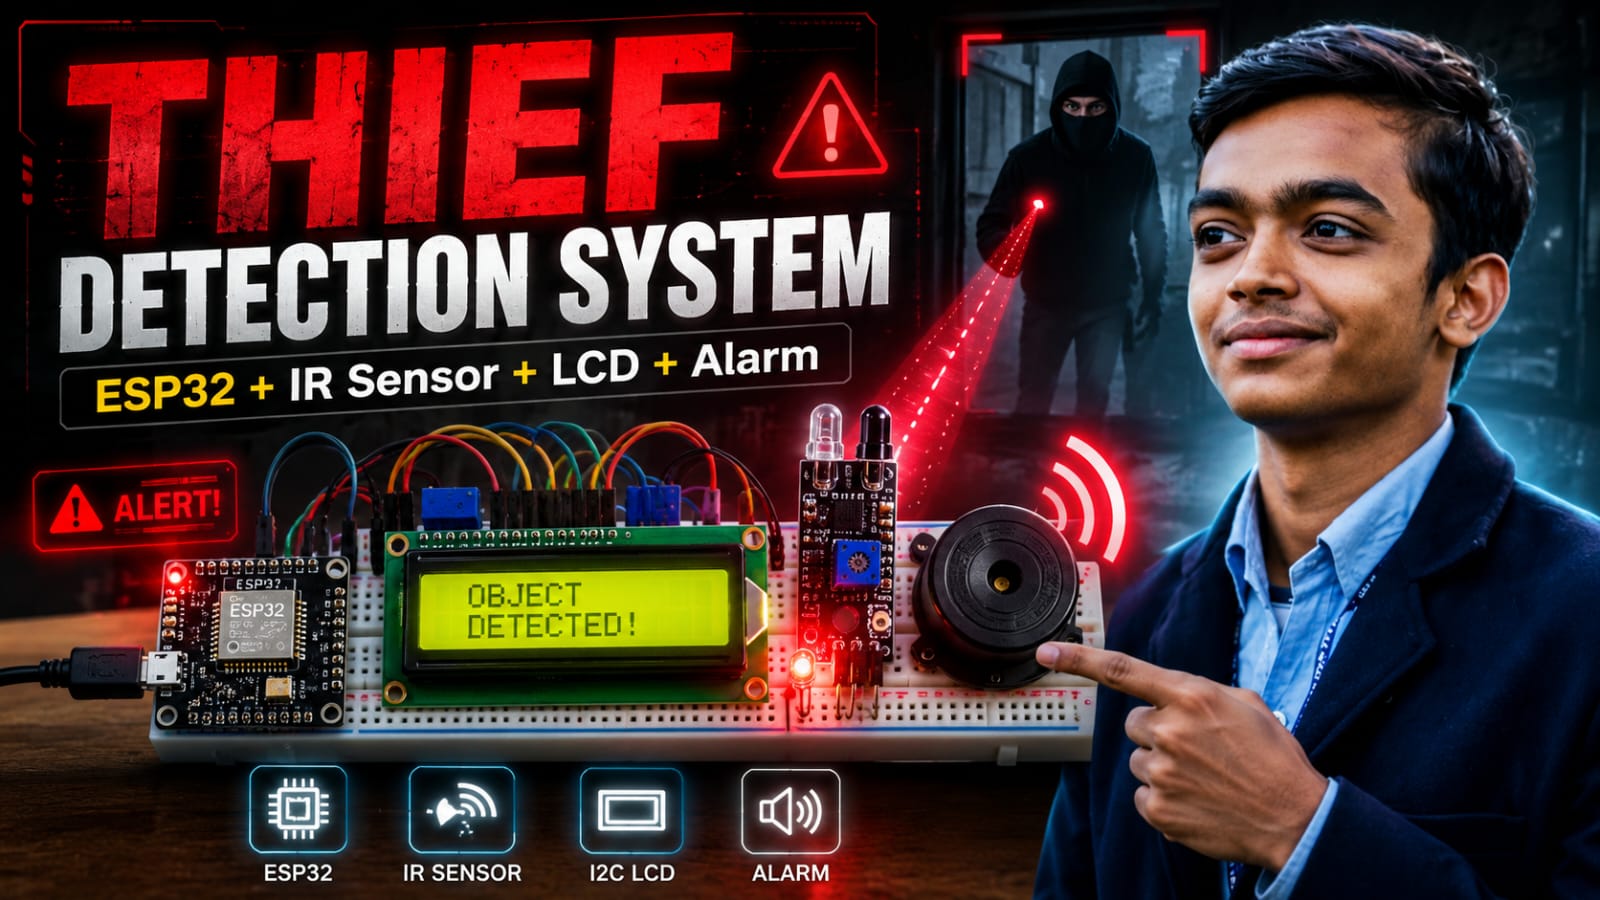
Home security doesn't have to be expensive or complicated. One of the best ways to learn ESP32 development is to build something highly practical—like a smart intrusion alarm. In this project, we are going to build an automated Thief Detection System. By pairing an ESP32 with a standard Infrared (IR) obstacle sensor, we can detect when someone walks through a doorway or approaches a restricted area. When an intruder is detected, the system will:
- Trigger a flashing red LED.
- Sound a loud, oscillating siren using a 5V buzzer.
- Display a live "Object Detected" warning and keep a running count of how many times the sensor was tripped on a 16x2 I2C LCD. Let's dive into the build!
Components
7 itemsWiring the Security System
The ESP32 has plenty of GPIO pins, but we need to route them carefully.
For the I2C LCD Display, we are defining custom I2C pins in the code using Wire.begin(21, 19);. This means we will wire SDA to GPIO 21 and SCL to GPIO 19.
Here is the complete wiring map for the project:
IR Sensor:
- VCC → 3.3V on ESP32
- GND → GND
- OUT → GPIO 23
16x2 I2C LCD:
- VCC → 5V (VIN) on ESP32
(Note: Check your LCD backpack; some require 5V for the backlight to work properly, while the I2C logic can safely talk to the 3.3V ESP32).
- GND → GND
- SDA → GPIO 21
- SCL → GPIO 19
Alert Outputs:
- LED Anode (+) → 220Ω Resistor → GPIO 22
- LED Cathode (-) → GND
- Buzzer Positive (+) → GPIO 25
- Buzzer Negative (-) → GND
How the Code Works
There are a few clever tricks in this code that make it behave like a professional security system rather than a basic beginner script.
- Accurate Intruder Counting If a thief stands in front of the sensor for 5 seconds, we don't want the detectionCount to skyrocket to 1,000. By keeping track of the previousState, the code ensures that the counter only goes up by exactly 1 when the state changes from "No Object" to "Object Detected".
- The ESP32 LEDC Siren Unlike an Arduino Uno, the ESP32 does not have a standard tone() function out of the box. Instead, it uses the LEDC (LED Control) hardware peripheral, which generates highly precise PWM signals. We set this up in setup() using ledcAttach(BUZZER_PIN, 1000, 8);. Then, in the main loop, we rapidly alternate the buzzer frequency between 1000 Hz and 2000 Hz using ledcWriteTone(). This creates a piercing, oscillating "police siren" effect that is much more alarming than a flat, solid beep!
- I2C LCD Spaces Padding Notice how the LCD print lines end with empty spaces, like lcd.print("No Object ");? This is a great programming trick. Because the LCD doesn't automatically erase old text, printing those extra blank spaces ensures that longer words from previous alerts are completely overwritten and wiped off the screen.
Common Mistakes to Avoid If your security system isn't working on the first try, don't panic. Check these common pitfalls:
- The Alarm Constantly Triggers (or Never Triggers): IR obstacle sensors have a small built-in potentiometer (a tiny screw). This adjusts the detection distance threshold. If it is turned too high, it will constantly detect the floor, ambient light, or even nothing at all. Use a small screwdriver to tune it until the sensor's onboard indicator LED only lights up when your hand is actually in front of it.
- LCD Shows Blank Boxes or No Text: This is almost always an I2C address mismatch or a contrast issue. First, take a screwdriver and turn the small blue contrast potentiometer on the back of the LCD's I2C backpack. If that doesn't fix it, your specific LCD might use address 0x3F instead of 0x27. Simply change LiquidCrystal_I2C lcd(0x27, 16, 2); to 0x3F in the code. Powering 5V Components with 3.3V: The ESP32 operates at 3.3V logic, but most active buzzers and 16x2 LCD backlights require 5V to run properly. Make sure the VCC pins for the LCD and Buzzer are connected to the VIN (5V) pin of the ESP32, not the 3.3V pin!
- Wiring I2C to the Default Pins by Habit: While the default I2C pins on a standard ESP32 are usually 21 (SDA) and 22 (SCL), notice that our code specifically maps them differently using Wire.begin(21, 19);. If you wire SCL to pin 22 out of habit, the screen will remain blank.
- Trying to use tone(): If you try to modify the alarm sound later using the standard Arduino tone() function, your ESP32 will throw a compiler error. The ESP32 does not support tone() out of the box, which is exactly why we use the ESP32's hardware timer functions (ledcWriteTone) to generate our siren.
Taking it Further Right now, this functions as a localized alarm. Because you are using an ESP32, you have built-in WiFi! To upgrade this project, you can easily integrate a library like UniversalTelegramBot or PubSubClient (MQTT). With just a few extra lines of code, your ESP32 could silently ping your smartphone via Telegram or Home Assistant the moment that IR sensor is tripped!
🔗 Keep Learning: Related Security & ESP32 Projects If you enjoyed building this alarm system, check out these other highly-rated security and automation guides on SolderHub:
- ESP32-CAM Face Detection Security Camera with Motion Alerts — Upgrade from a basic IR sensor to a full camera that detects human faces and streams live video to your browser.
- Arduino RFID Door Lock with Access Log & LCD Display — Combine an RC522 scanner and a relay to build a physical door lock that only grants access to authorized key fobs.
- ESP32 Smart Home Automation with Relay & Telegram Bot Control — Learn how to connect your ESP32 to Telegram so it can send you alerts from anywhere in the world.
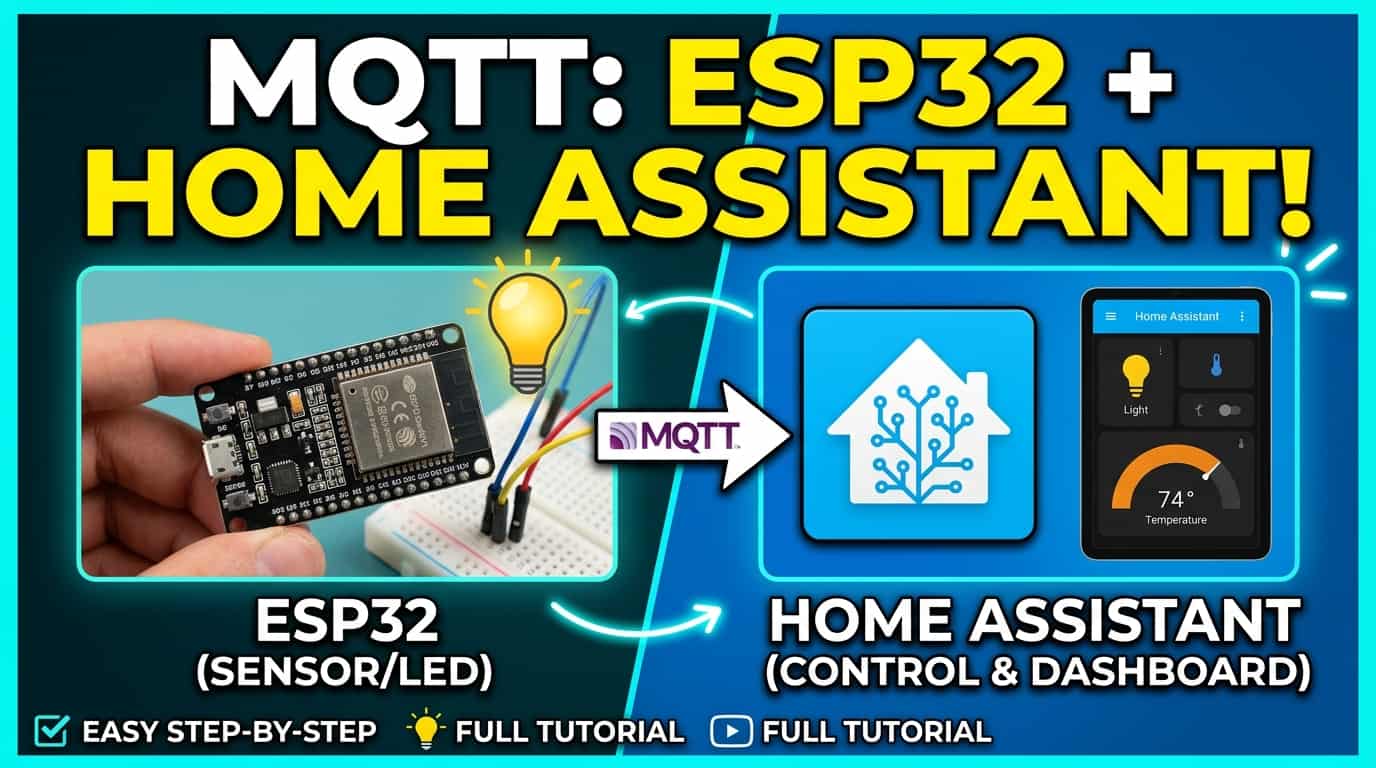
- How to Use MQTT with ESP32 and Home Assistant — Ready to connect your new thief detector to a whole-house smart dashboard? Start here.