
Why Build This
Distance sensing shows up everywhere — parking assistants, liquid level monitors, obstacle-avoiding robots, smart dustbins that open when you approach. The HC-SR04 ultrasonic sensor is the cheapest, most reliable way to get started with distance measurement, and pairing it with an STM32 "Blue Pill" instead of an Arduino Uno gets you a 72MHz ARM Cortex-M3 core, more precise timers, and native 3.3V logic — for about the same price as an Uno clone.
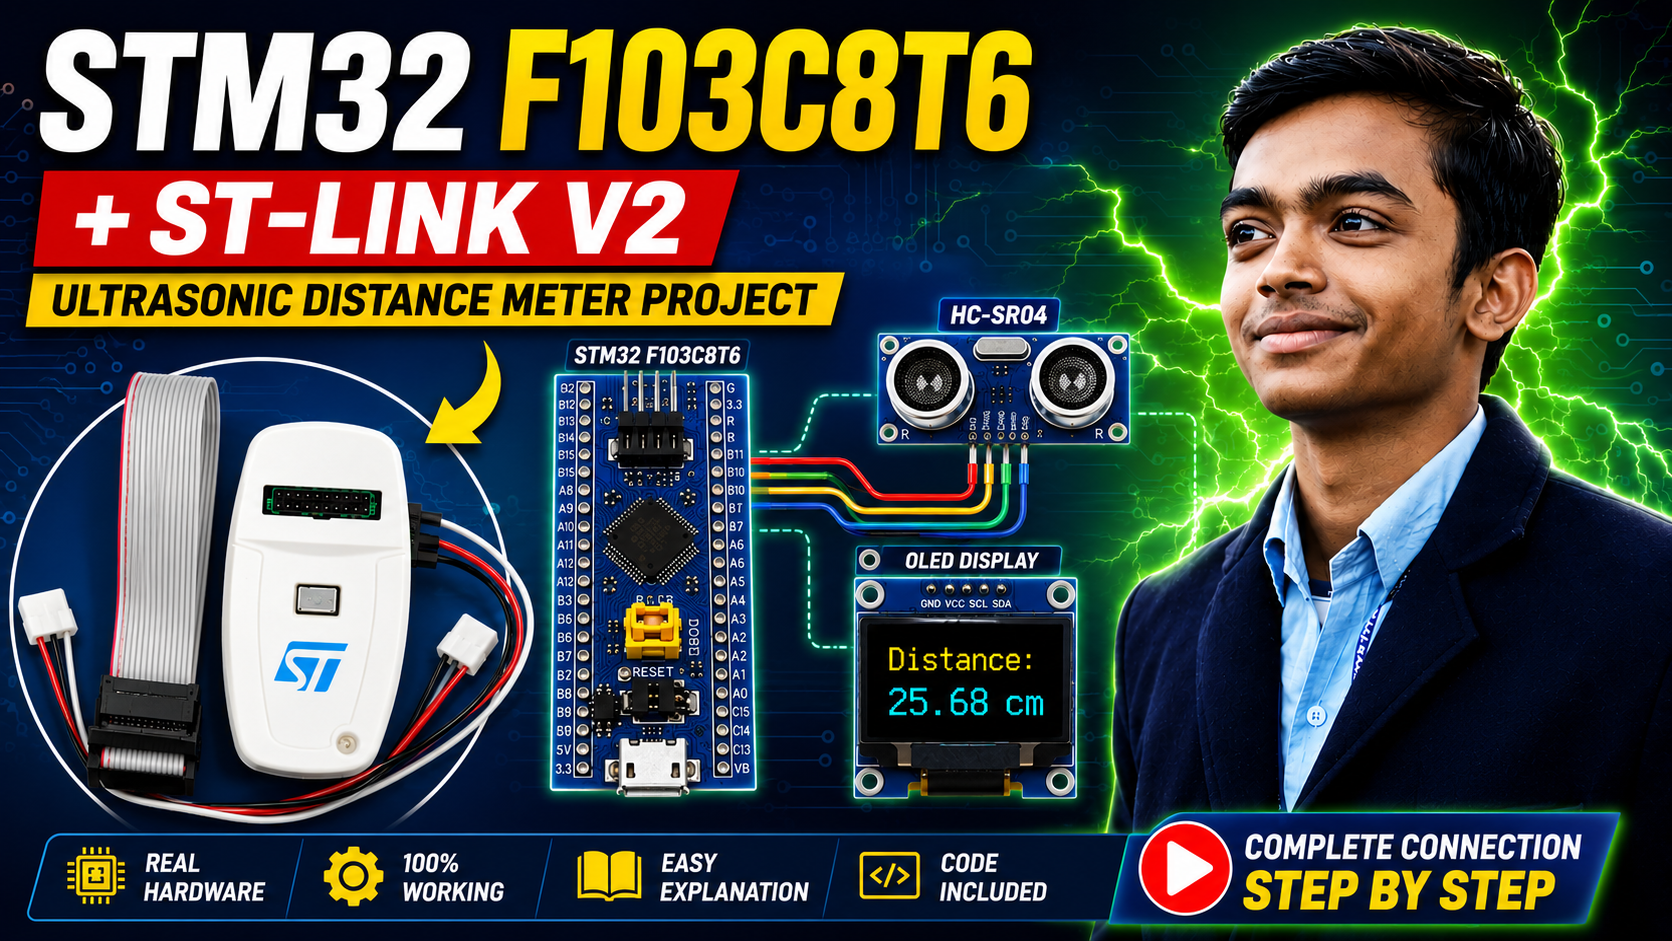
This project reads live distance data from an HC-SR04 and displays it in real time on a 128x64 SSD1306 OLED screen, with the result also streamed over serial for debugging. It's a self-contained build you can finish in an evening, and a solid stepping stone before moving into STM32-based robotics or PCB design.
⚠️ Warning
The Blue Pill runs on 3.3V logic, but the HC-SR04's Echo pin outputs a 5V signal. Feeding 5V directly into an STM32 GPIO pin can damage it permanently. Always use a voltage divider (a 1kΩ and 2kΩ resistor pair works well) to step the Echo signal down to ~3.3V before it reaches PA1.
Components
7 itemsNeed these parts? Get this build sheet by email
Parts list with buy links, plus new builds as they're published. By subscribing you agree to our Privacy Policy. Unsubscribe anytime.
Wiring the Circuit
The HC-SR04 has four pins: VCC, Trig, Echo, and GND. The SSD1306 OLED communicates over I2C, so it only needs four connections: VCC, GND, SDA, and SCL.
| HC-SR04 Pin | Connects To |
|---|---|
| VCC | 5V (external supply or ST-Link 5V rail) |
| GND | GND (common ground with STM32) |
| Trig | PA0 |
| Echo | PA1 (via voltage divider — see warning above) |
| SSD1306 Pin | Connects To |
|---|---|
| VCC | 3.3V |
| GND | GND |
| SDA | PB7 (I2C1 SDA on Blue Pill) |
| SCL | PB6 (I2C1 SCL on Blue Pill) |
Double-check your specific Blue Pill variant's I2C pin mapping before wiring — some boards remap I2C1 pins. If the display doesn't initialize, this is the first thing to verify.
Setting Up the PlatformIO Project
This project uses PlatformIO rather than the Arduino IDE, which gives proper dependency management, faster builds, and cleaner version control — things that matter once your projects grow past a single sketch file.
Create a new PlatformIO project targeting genericSTM32F103C8, then replace the generated platformio.ini with the config below.
A few notes on what each part is doing:
platform = ststm32pulls in the ST-based toolchain PlatformIO needs to compile and flash STM32 targets.framework = arduinolets you use the familiar Arduino API (digitalWrite,pinMode,Serial) instead of raw STM32 HAL or CMSIS code — the right tradeoff here since fast iteration matters more than register-level control.PIO_FRAMEWORK_ARDUINO_ENABLE_CDCandENABLE_HWSERIAL1are STM32duino-specific build flags. Without these,Serialover USB can behave inconsistently on some Blue Pill clones.lib_depspulls in Adafruit's SSD1306 driver and the underlying GFX library it depends on for text rendering and shapes.
Save the file and PlatformIO fetches both libraries automatically on the next build.
The Full Code
Here's the complete src/main.cpp:
How the Code Works
The Distance Measurement Function
The heart of this project is measureDistance(). Ultrasonic ranging works on a simple principle: send out a burst of sound above human hearing range, then measure how long it takes for the echo to bounce back off the nearest object.
digitalWrite(TRIG_PIN, LOW);
delayMicroseconds(2);
digitalWrite(TRIG_PIN, HIGH);
delayMicroseconds(10);
digitalWrite(TRIG_PIN, LOW);
This pulls Trig low briefly to guarantee a clean starting state, then pulses it high for exactly 10 microseconds. That 10µs pulse tells the HC-SR04 to fire eight ultrasonic bursts at 40kHz — timing the datasheet specifies precisely. Going shorter can cause unreliable triggering; there's no benefit to going longer.
long duration = pulseIn(ECHO_PIN, HIGH, 30000);
pulseIn() waits for Echo to go high, then measures how long it stays high before dropping low. That duration is proportional to how far the sound wave traveled — out to the object and back. The third argument, 30000, is a timeout in microseconds. Without it, pulseIn() blocks forever if no echo returns. 30ms corresponds to roughly 5 meters round-trip, comfortably covering the HC-SR04's rated 4-meter max range.
if(duration==0)
    return -1;

return duration * 0.0343 / 2.0;
A timeout returns 0, used here as a sentinel for "no echo detected," distinct from an actual near-zero reading. The distance formula comes from the speed of sound (~343 m/s at room temperature, or 0.0343 cm/µs). Since the measured duration covers the round trip, the result is divided by 2 for one-way distance.
On accuracy: the speed of sound changes with temperature and humidity — closer to 331 m/s at 0°C, 349 m/s at 30°C. The fixed 0.0343 constant is fine for hobbyist use, but for higher precision (a liquid level sensor where a centimeter matters), add a temperature sensor and compute the speed of sound dynamically using 331.3 + 0.606 * temperatureC m/s.
Display Initialization
Wire.begin();
display.begin(SSD1306_SWITCHCAPVCC, 0x3C);
Wire.begin() starts the I2C bus on the default I2C1 pins. SSD1306_SWITCHCAPVCC tells the driver the OLED generates its own display voltage via an internal charge pump — how nearly all common breakout boards are wired. 0x3C is the I2C address most SSD1306 modules default to, though some use 0x3D; if the display stays blank, run an I2C scanner sketch first to confirm the address.
The startup sequence shows "START" for 1.5 seconds — simple, but useful confirmation that the display initialized and setup() completed before the loop starts overwriting the screen every 100ms.
The Main Loop
Each pass takes a fresh reading, prints it to Serial, and redraws the OLED:
display.setTextSize(1);
display.setCursor(0,0);
display.println("Ultrasonic Sensor");
display.drawLine(0,12,128,12,SSD1306_WHITE);
This draws a header label and a horizontal divider at y=12 — separating the header from the live reading makes the display easier to read at a glance, especially useful when demoing the project.
if(distance<0)
{
    display.print("No Echo");
}
else
{
    display.print(distance,1);
    display.print(" cm");
}
The -1 sentinel is swapped for a readable "No Echo" message instead of a confusing negative number — the kind of detail that makes a project feel finished. distance,1 formats to one decimal place, matching the HC-SR04's real-world accuracy of roughly ±0.3cm; more digits would imply precision the sensor doesn't have.
The closing delay(100) caps the refresh to ~10Hz. Fast enough to feel responsive, and it respects the HC-SR04 datasheet's recommendation to wait at least 60ms between trigger pulses so one echo doesn't interfere with the next.
Steps
- 1Connect the ST-Link V2 to the Blue Pill's SWD pins (SWDIO, SWCLK, GND, 3.3V)
- 2Open the project in PlatformIO and run Build first to confirm both libraries pull in cleanly
- 3Run Upload — PlatformIO flashes the compiled binary over SWD
- 4Open the Serial Monitor at 115200 baud to watch live distance readings alongside the OLED
- 5If the ST-Link isn't detected, check drivers for your OS and confirm any BOOT jumpers are set for programming mode, not boot-from-flash
Common Mistakes and How to Avoid Them
Skipping the voltage divider on Echo. The single most common way to damage a Blue Pill in a project like this. Trig is fine at 3.3V output since the STM32 drives it — Echo is the input receiving 5V, which is the direction that causes damage if unprotected.
Wrong I2C address. If the display never lights up, don't assume it's dead — run an I2C scanner sketch first. 0x3C and 0x3D are both common depending on manufacturer.
Not giving the sensor time to settle. Erratic, jumpy readings are often caused by the loop running faster than the sensor can reset between pulses. Increasing the delay at the end of loop() usually fixes this immediately.
Powering the HC-SR04 from 3.3V. It's a 5V sensor — running it from 3.3V makes triggering unreliable or the Echo pulse may not register at all. Always power it from a proper 5V rail.
Forgetting a common ground. If the STM32 and sensor's power source are separate, they still need a shared GND reference, or the digital signals won't read correctly on either side.
Blocking too long in pulseIn(). Worth knowing if you plan to add other tasks to the loop later — pulseIn() blocks execution until it detects the pulse or hits the timeout. Harmless for a single-sensor project like this, but it limits how much else you can do concurrently without moving to interrupts.
Ideas to Extend This Project
- Add a buzzer for proximity alerts — beep when distance drops below a threshold, turning this into a basic parking sensor or object-detection alarm
- Log readings over time — store to an SD card over SPI, or stream to a computer over Serial for graphing
- Multiple sensors — add a second HC-SR04 on different Trig/Echo pins for a simple robot's front and rear obstacle detection
- Smoothing filter — a moving average over the last 5–10 readings reduces the jitter inherent to ultrasonic sensing against soft or angled surfaces
- Battery power — the Blue Pill and SSD1306 are both low-power, so this runs comfortably from a small LiPo pack with a basic regulator, making it genuinely portable
Summary
| Feature | Detail |
|---|---|
| Microcontroller | STM32F103C8 (Blue Pill) |
| Framework | Arduino (via PlatformIO) |
| Sensor | HC-SR04 Ultrasonic |
| Display | SSD1306 128x64 OLED (I2C) |
| Trig Pin | PA0 |
| Echo Pin | PA1 (via voltage divider) |
| I2C Pins | PB6 (SCL), PB7 (SDA) |
| Max Range | ~4m (sensor rated) / 30ms timeout used |
| Update Rate | ~10Hz |
This build is small enough to finish in an evening but touches real embedded concepts: timing-critical pulse measurement, I2C peripheral communication, voltage-level safety between mixed-logic devices, and clean handling of edge cases like a missing echo. It's also a good template — swap the HC-SR04 for almost any other digital sensor, and the same OLED display and PlatformIO project structure carries over with minimal changes.
If you build this, double-check the wiring and voltage-divider step before powering anything on. Everything else is just code.